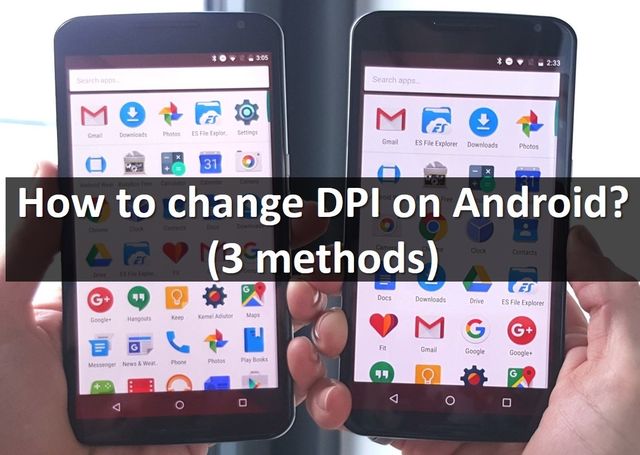
If you are looking for tutorial how to change DPI on Android, then you came to the right place. Here you can read about what is DPI and how to change it with 3 methods.
What is DPI?
DPI is dots per inch. Let’s imagine that you have two smartphones. Both of them have a screen resolution of 1920×1080, but the first display size is 4.5 inches, and another 5.2 inches. It means that the first smartphone has a DPI higher than the second one.
Why to change DPI?
Some apps may not work properly with current DPI on your Android, for example, the image is too large. So, you can change DPI and try to fix the application.
How to find out DPI on Android tablet or smartphone?
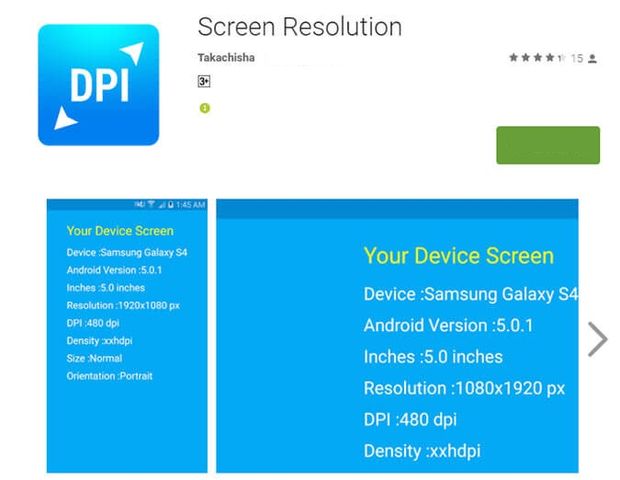
You can use a special app from Google Play Store to find out DPI of your device. The application has a name of Screen Resolution.
How to change DPI on Android?
You can change DPI on Android with Root or without it. Also we recommend to change DPI with little steps (10-20), because great values can cause the errors on operating system.
Method 1: Change DPI on Android without Root
- Install Android drivers on your PC.
- Install ADB RUN program on your PC.
- Enable “USB Debugging” on Android device.
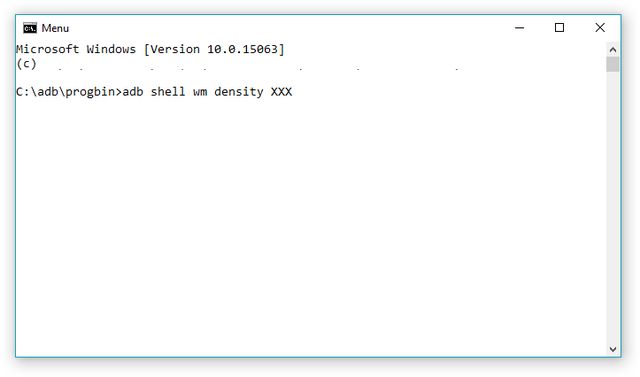
- Enter the command in ADB RUN window:
Adb shell wm density XXX
where XXX is the required DPI value (480, 320).
Method 2: Change DPI on Android with Root
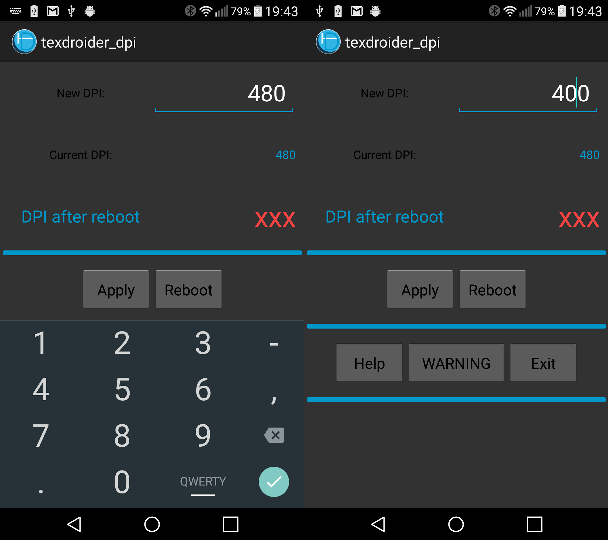
- Download and install Textdroid DPI app.
- Open installed application and change DPI to the desired value.
- Then click on “Apply” and “Reboot” buttons.
After smartphone reboots, you will have new DPI screen density settings applied.
Method 3: Edit buid.prop file
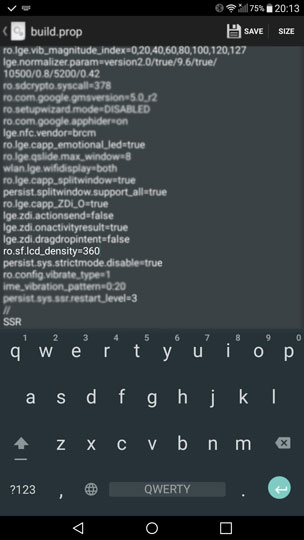
Run Root Browser application, go to the system folder and open build.prop file. Here you need to find next parameter:
Ro.sf.lcd_density =
Set your own DPI, save the document and reboot Android.
That’s all! It is not so difficult to change DPI on Android. We hope you succeeded, and your problem is solved.
Leave a Reply